

The Easiest DIY Paver Patio and How to Build It
April 8, 2024
Building a patio out of pavers is the easiest way to build a patio. We'll show you the simple steps so you can do it yourself.
Introduction
Transform your backyard into a functional and inviting space with a DIY paver patio. You can do this simple project over a weekend. It's the perfect way to enhance your outdoor living area without breaking the bank. Here's how you can get started:
Materials You'll Need
- Pavers: Choose the shape, size, and color that best fits your design aesthetic. Consider thicker pavers for added durability.
- Paver Base: Typically crushed stone or gravel, about 4 inches thick.
- Paver Sand: Fine sand is used for securing the pavers in place.
- Edging Stones or Metal Edging: To define and stabilize the perimeter of your patio.
- Landscape Fabric: To inhibit weed growth under your patio.
- Tamper: For compacting the gravel and sand.
- Level: To ensure your base is even.
- Rubber Mallet: To settle the pavers into the sand without cracking them.
- Broom: For spreading the sand into the gaps between pavers.
Steps to Create Your Patio:
1. Plan Your Space
- Decide on the location of your patio. Consider sun exposure, ground level, and proximity to your home. Use stakes and string to mark the area.
- Calculate the total square footage to determine the amount of materials needed. This includes the depth of the base materials and sand, along with the surface area the pavers will cover.
2. Prepare the Ground
- Remove sod and other debris from the marked area using a spade or sod cutter. These can be rented from a local hardware store if needed.
- Apply landscape fabric over the soil to block weed growth. Secure the fabric with metal stakes or staples.

3. Add the Base
- Distribute a layer of crushed stone or gravel across the fabric, aiming for an even thickness. This base will ensure proper drainage and support for the pavers.
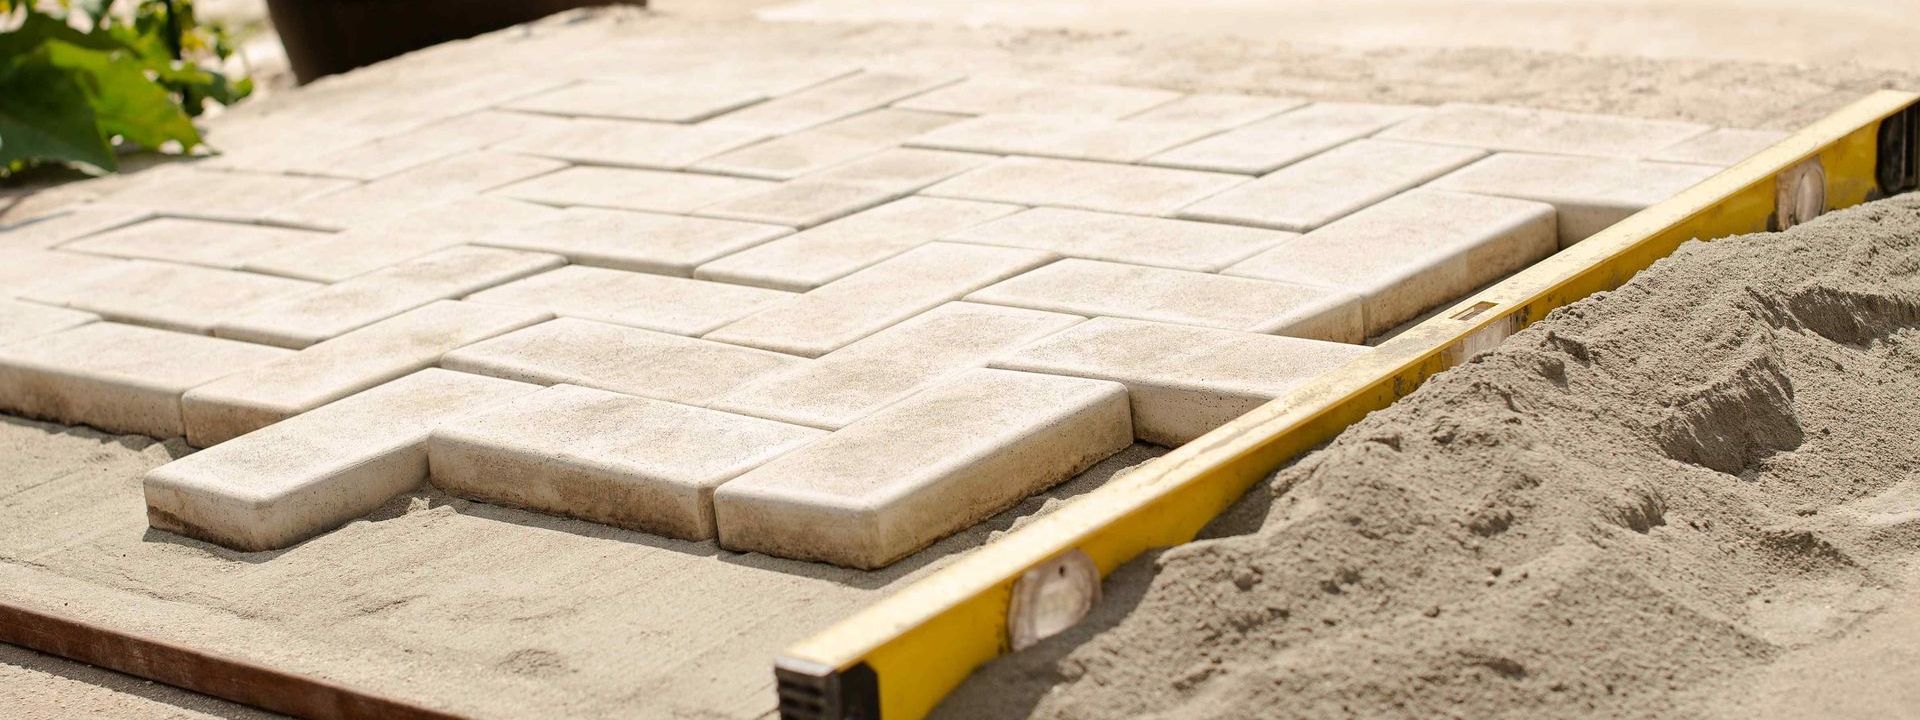
- Using a tamper, compress the base to a solid, level foundation. Double-check levelness with a long, straight 2x4 and a level.
4. Lay the Sand
- Spread a thin layer of fine paver sand over the compacted base. This layer should be smooth and uniform, so use a rake and then the 2x4 to level it off.
- The sand acts as a fine bedding surface for placing pavers and helps to hold them in place once they're laid down.

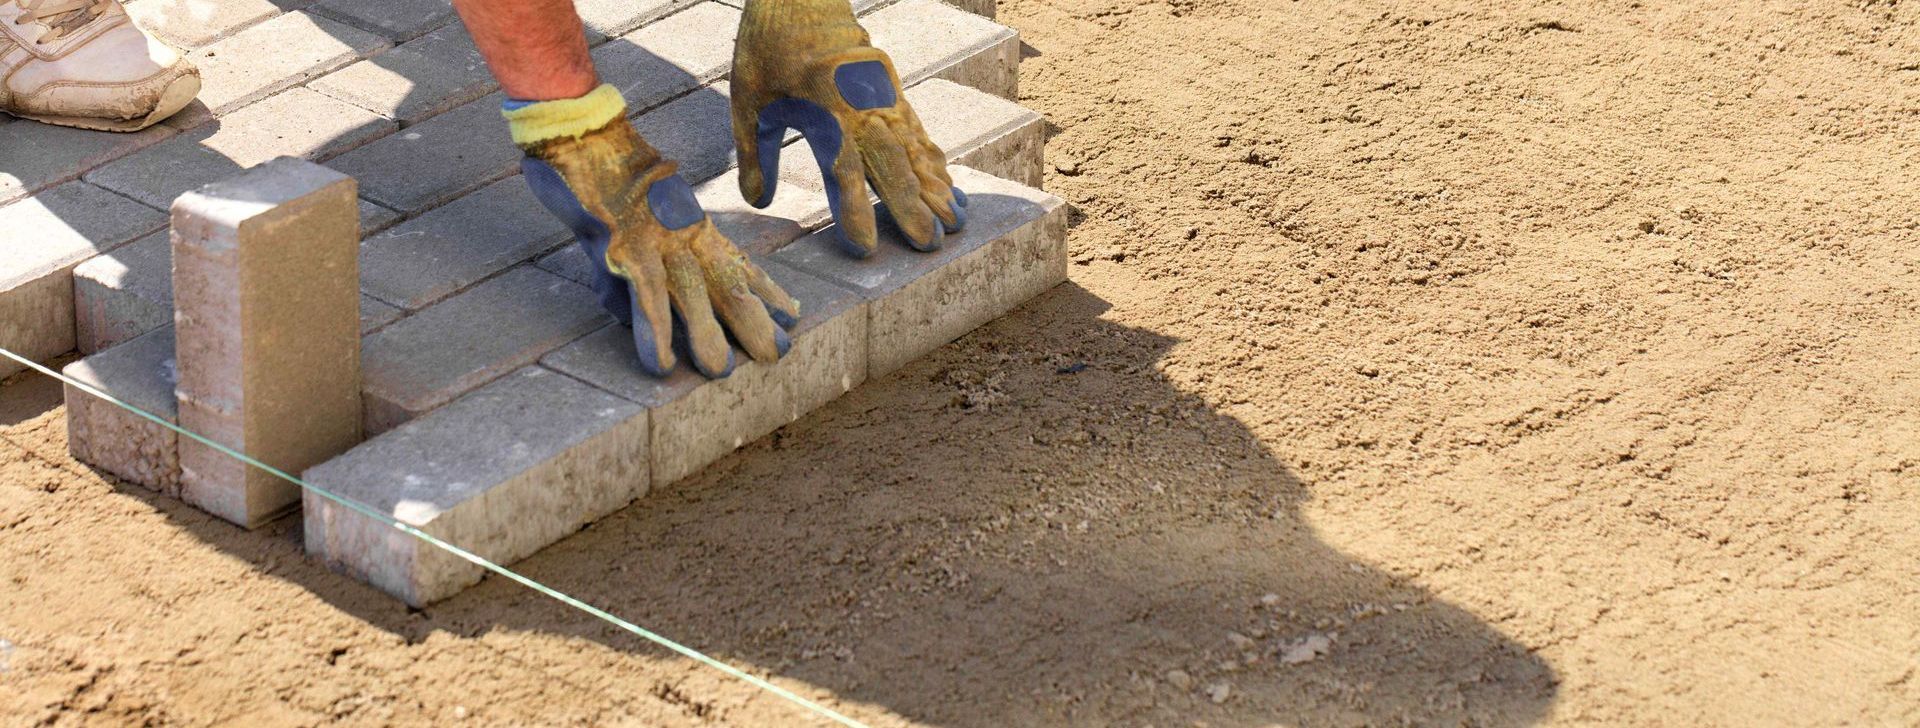
5. Place the Pavers
- Start at one corner and lay the pavers down snugly against each other in your desired pattern. Use a string line as a guide to keep the rows straight.
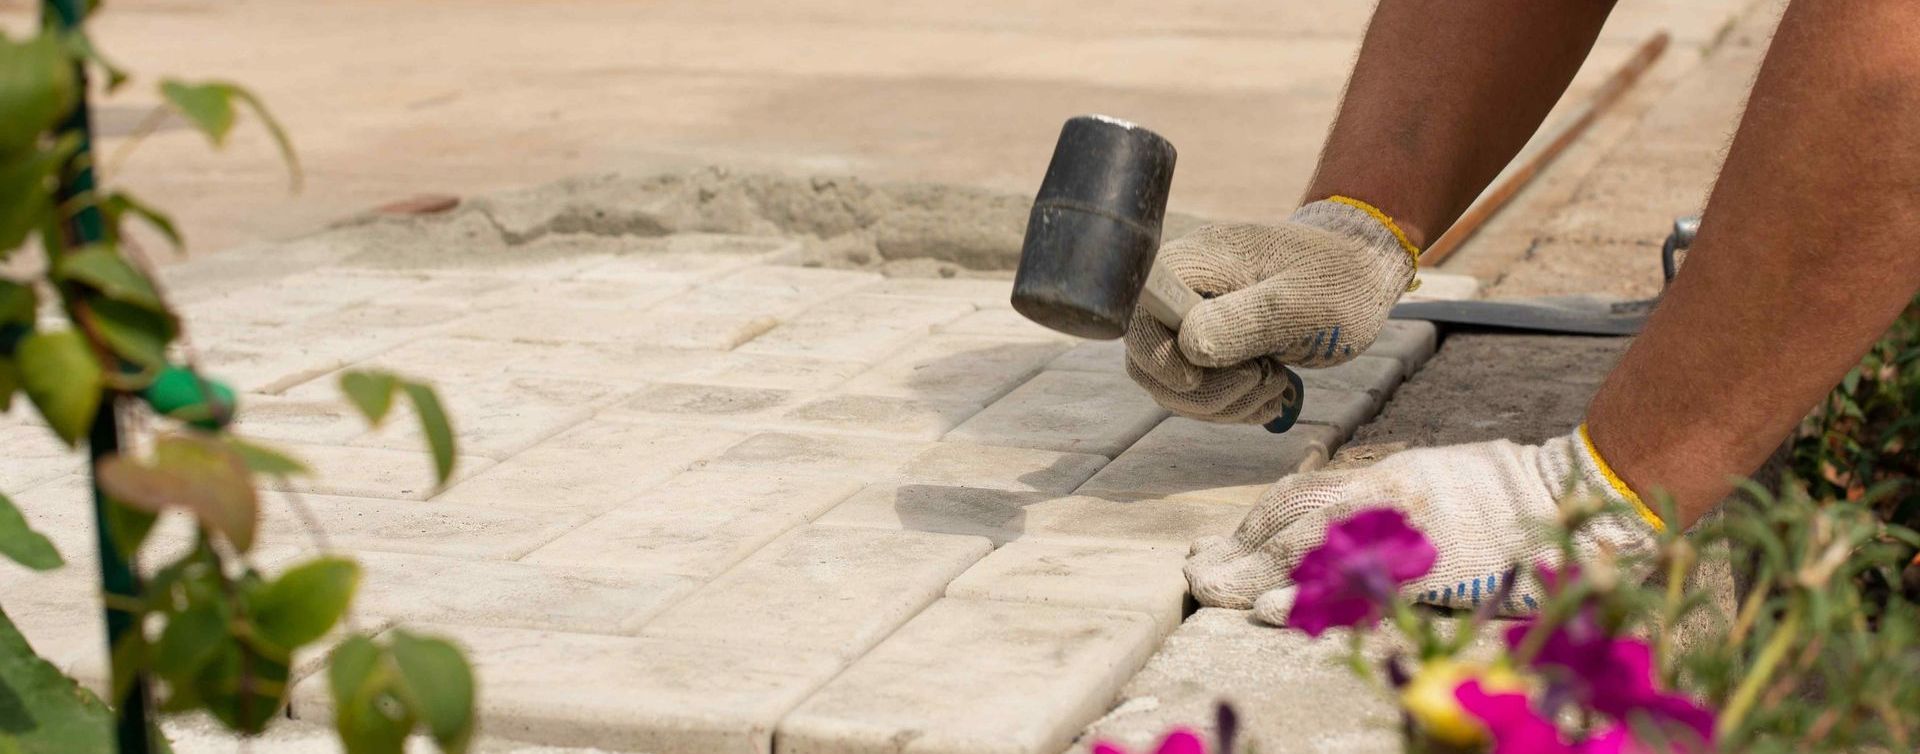
- As you place each paver, use the rubber mallet to tap it gently into the sand. This ensures the paver is both level with the others and well-seated in the sand.
6. Secure the Edges
- Install your chosen edging around the patio's perimeter. This could be metal edging that spikes into the ground or decorative stones that frame the patio.
- The edging should be securely embedded to prevent the pavers and sand from shifting over time.
7. Finish Up
- Once all pavers are in place, cover the patio with a thin layer of paver sand. Use a broom to sweep the sand into the joints between pavers. Fill the joints to lock the pavers together.
- Hose down the patio to settle the sand into the joints. Repeat the sanding and watering process until the joints are well-filled and the patio surface is stable.
Enjoy Your New Patio!
With these steps, you’ve built a visually appealing outdoor feature. You're now ready for outdoor entertaining, relaxation, and more. Add your personal touches with patio furniture, outdoor lighting, and landscaping to make it your own.
At
Affordable Landscapes Lubbock, we’re passionate about making your outdoor living dreams come true. Whether you're DIY-ing your way or need professional help with a more complex project, we're just a
call away!
You might also like

Lubbock’s unique climate and soil make landscaping both a challenge and an opportunity. Choosing the right plants can transform your outdoor space into a vibrant, sustainable haven. Native plants, in particular, have a significant impact on local landscapes. Let’s explore why native plants are ideal for Lubbock’s environment and how they can benefit your yard.

When winter arrives in Lubbock, TX, it’s easy to think that landscaping work should stop until spring. However, the holiday season is one of the most crucial times to prepare your yard and lawn for the coming year. At Affordable Landscapes Lubbock , we believe that winter is not just about maintenance—it's about setting the foundation for a healthy, vibrant landscape that thrives all year long. Whether you’re tending to your lawn, planting winter-hardy additions, or tackling hardscaping projects, there’s plenty to do during this time. Let’s take a closer look at how you can make the most of your landscape during winter.

Transform your yard into a Texas-friendly wildflower garden that’s as easy to care for as it is beautiful. With native plants and following a few simple tips, you can have a wildflower garden in a Texas climate. Choosing Texas-Compatible Wildflowers Most people choose wildflower gardens because they want them to be low-maintenance. To do this, select flowers that can handle Texas’s heat and diverse conditions. Native plants like the Texas Bluebonnet, Indian Paintbrush, black-eyed Susan, and Mexican Hat are great together. These plants also adapt well to the dry Texas climate. Native plants also support local wildlife and need less water and fertilizer. Be sure to do your research and include a diverse range of plants that attract different insects. The plants you choose must work together to create a sustainable garden environment.